MA U3: ‘News’ – investigation into making newspaper archival and presenting the work

‘News’ in Chinese ink painted with chicken feather brush

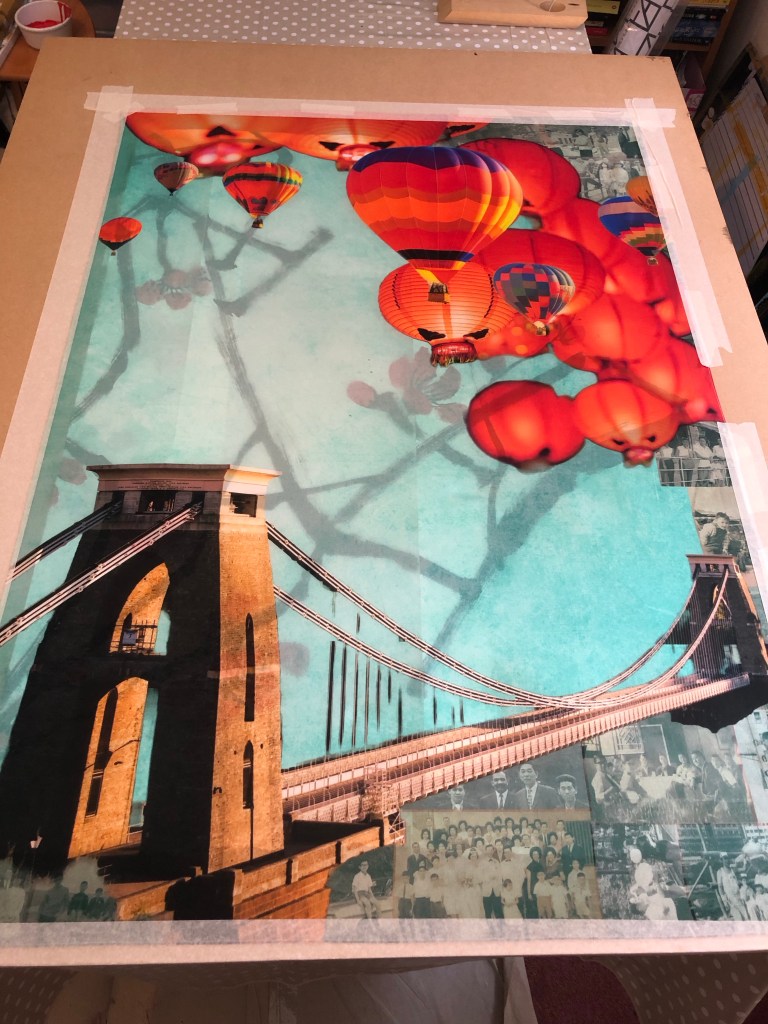
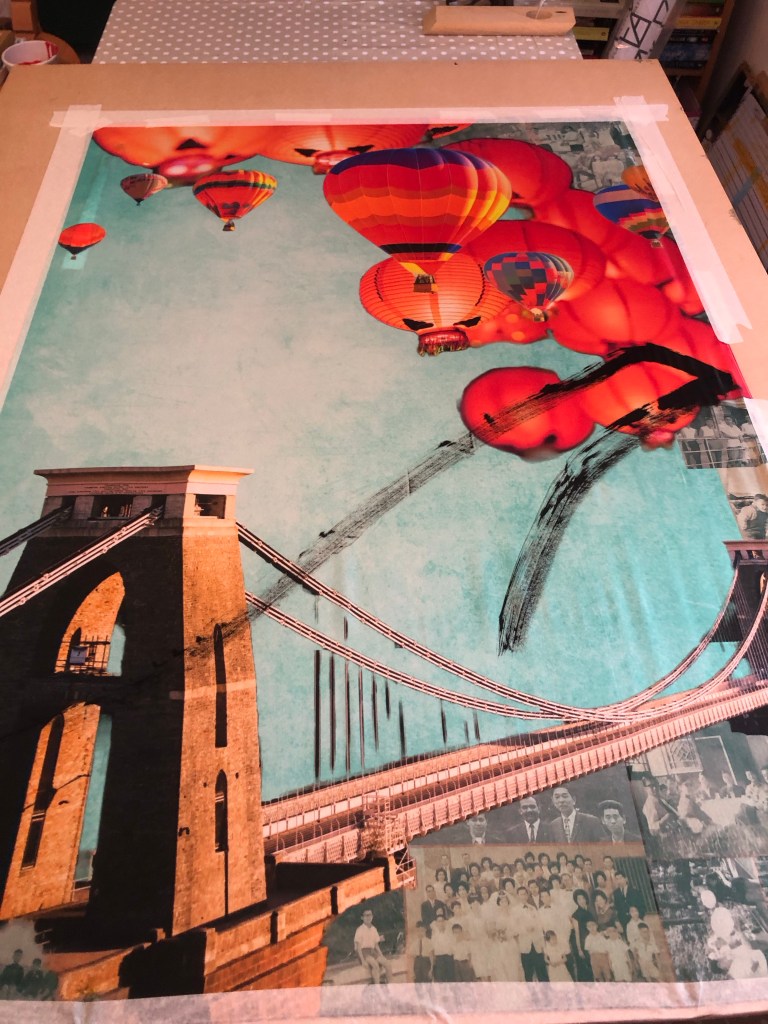
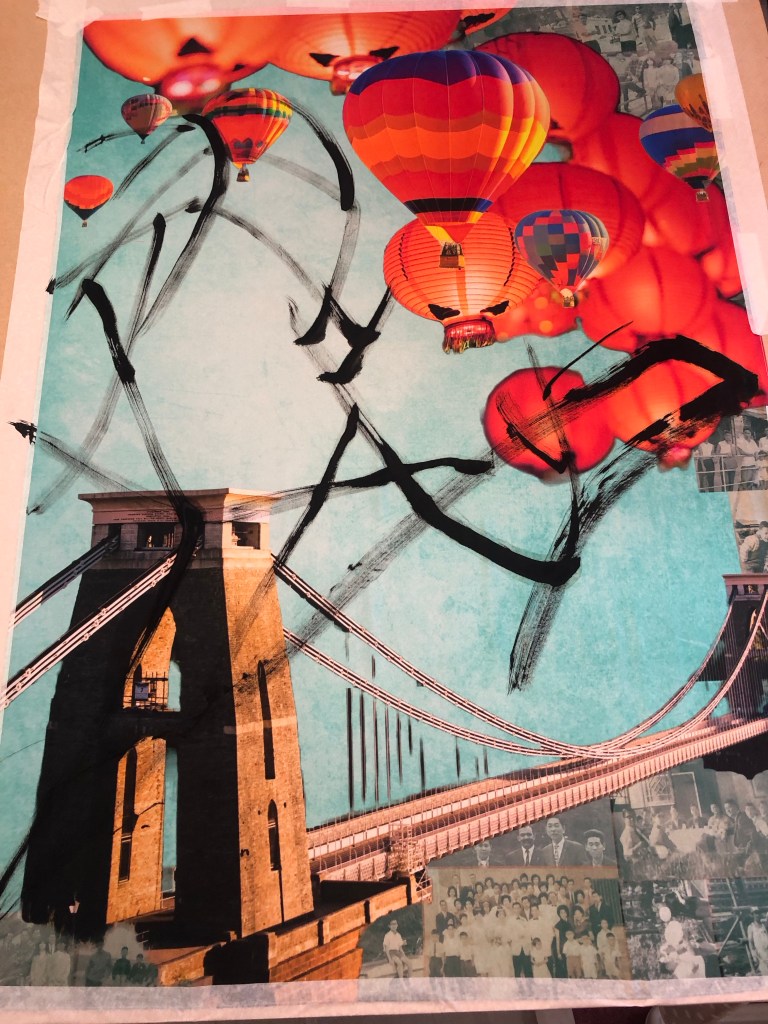
As I am making more and more paintings on The FT, I want to consider more carefully how to display the work and also making the newspaper art archival.

METHOD

1- Online research

I have been researching online for ideas. There have been all kinds of suggestions. I find this post useful as there are different suggestions to try.

https://www.wetcanvas.com/forums/topic/preserving-newsprint-is-it-possible/

One person suggested this product, maybe worth investigating:

https://www.krylon.com/en/products/clear-coatings/crystal-clear-acrylic-coating#accordion-f0f399f26d-item-2a5184aed3

However, none of the suggested solutions are truly archival due to the nature of the newspaper material. One of the comments said that newspapers were a museum curator’s nightmare. I think that sums it up. The only suggestion that is truly archival is to make digital images and gyclee prints. That is something that I will consider.

2- Ask an expert

Another investigation route that I pursued was to ask a paper conservation specialist at UAL. His reply was as follows:

“Newsprint is made using mechanical wood pulp for the paper fibres.  These are naturally rich in a chemical called lignin.

Lignin is not particularly stable.  It breaks down with time with 2 effects:

  • Some breakdown products are strongly coloured, making the newsprint go increasingly yellow and eventually brown.
  • Some breakdown products are acidic, leading to the paper becoming increasingly fragile over time.

This breakdown will still happen in dark conditions, but the energy from light makes the breakdown progress much more quickly.  Ultraviolet has more energy than visible light, so can do damage more quickly.

It’s not possible to make newsprint archival. 

UV-proof glazing would be beneficial if the paper is to be displayed in a window where it’s subject to sunlight. 

If the artwork is illuminated using artificial light, UV exposure will be less.  Fluorescent lights and halogen spot lights emit some UV.  LED lights typically emit no UV.

Most acrylics will filter out some UV due to being made with UV-stabilisers to help make the acrylic last longer.  

Last time I checked (which was ages ago…) framers quality UV-filtering acrylics and glasses were similar in price.

For storage, I’d recommend keeping the papers between unbuffered, acid-free boards.  Many archival boards are calcium carbonate buffered, which helps neutralise the acids created as lignin breaks down, but alkaline conditions can also increase the yellowing of lignin (through a different mechanism than the breakdown route).

Sandwiching newsprint between glass/plastic offers some benefits in isolating the paper from various environmental effects, but might also lead to a surrounding microclimate rich in acidic breakdown products.”

– End of expert’s reply –

This was a very helpful reply and the sentence that I highlighted in bold again confirms that there is no way of making newspaper archival which is a pity.

REFLECTIONS

After doing this research, I have to accept that it is not possible to make newspaper archival. I feel rather sad about that and the engineer in me thinks ‘there must be a way, it just has not been found yet!’ However, I need to employ a solution now to manage or show the work that I have been creating while continuing to find a long term solution which may or may not be possible. If museums around the world have not found a solution then maybe I won’t be able to either – not in the short to medium term anyway.

Making digital images and then gyclee prints is a very good and viable solution. I will definitely pursue that and learn how to photograph my News paintings properly. As a start, I will need a light box frame that I can wall mount.

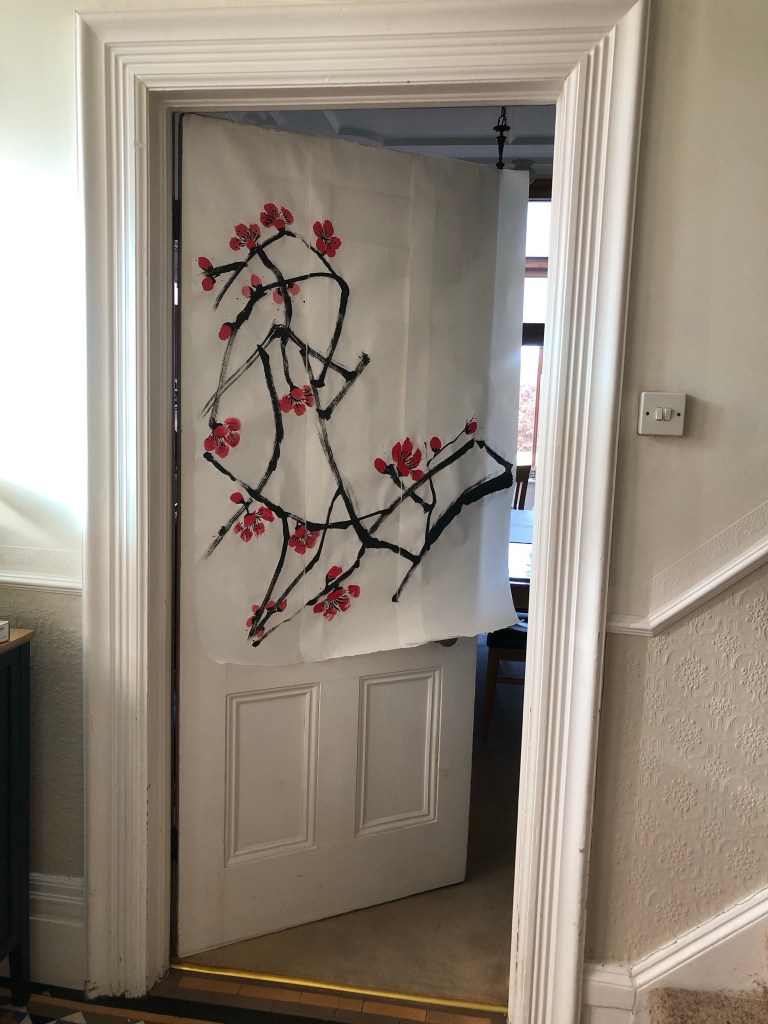
I have also considered sandwiching the News paintings between UV proof acrylic panels and mounting it away from the wall with spacers to let light in from behind – this solution also requires further experimentation.

The above are ways to present the paintings for photographing. Once I have found a way of photographing the work then I can consider making limited edition gyclee prints from them.

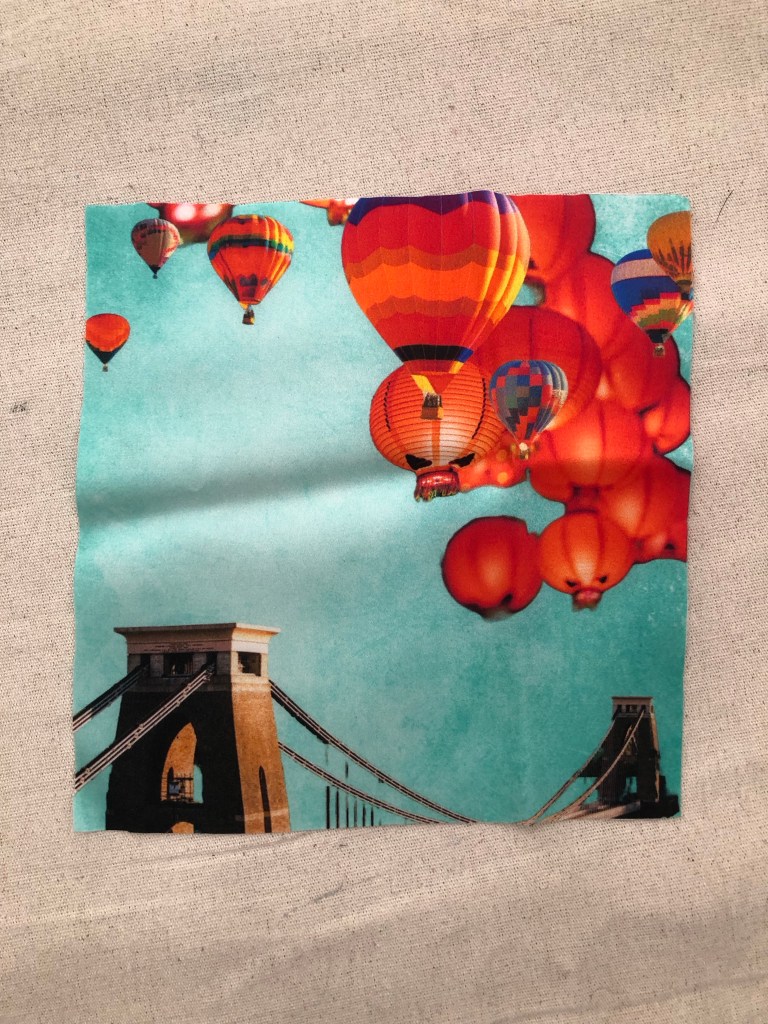
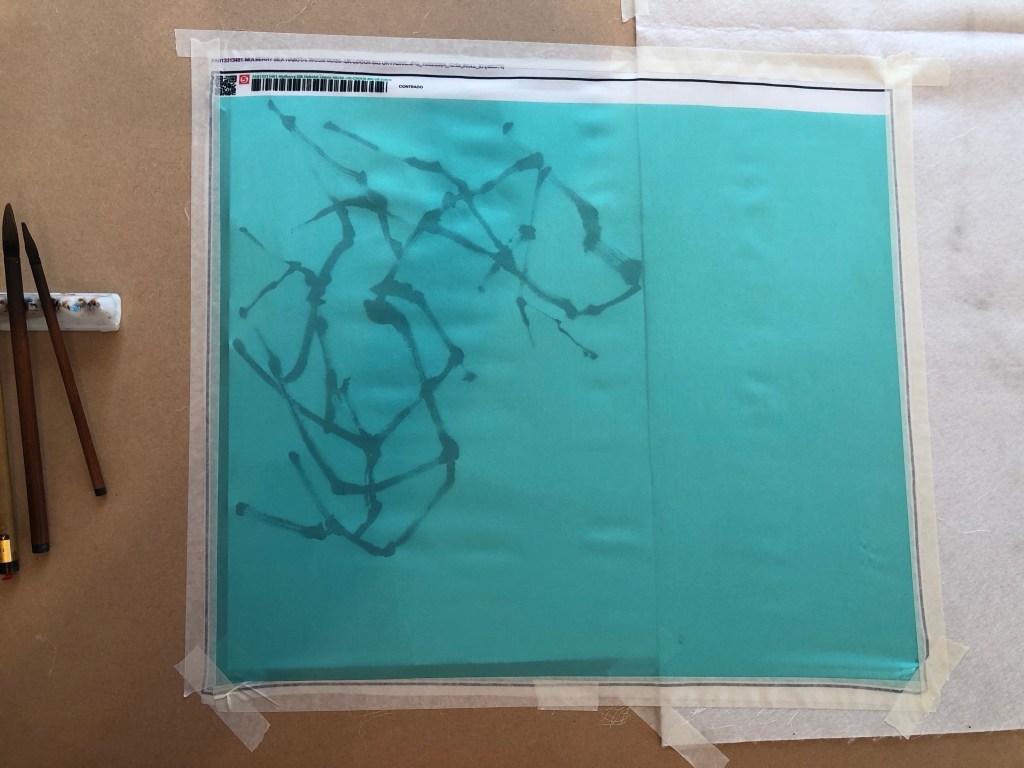
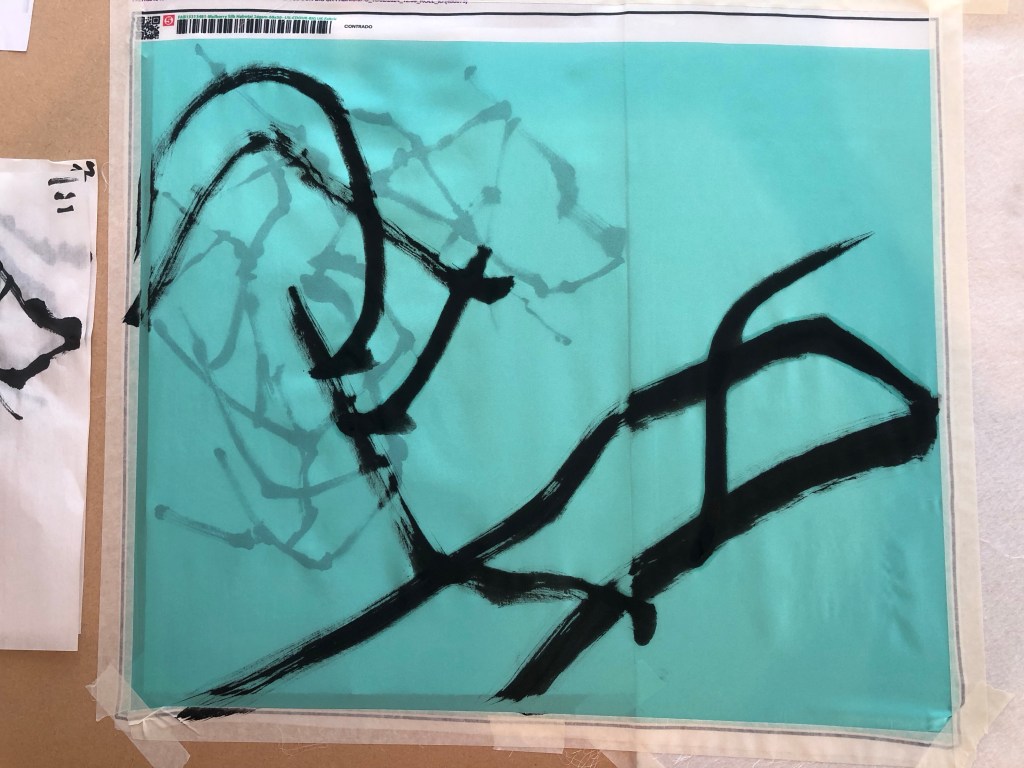
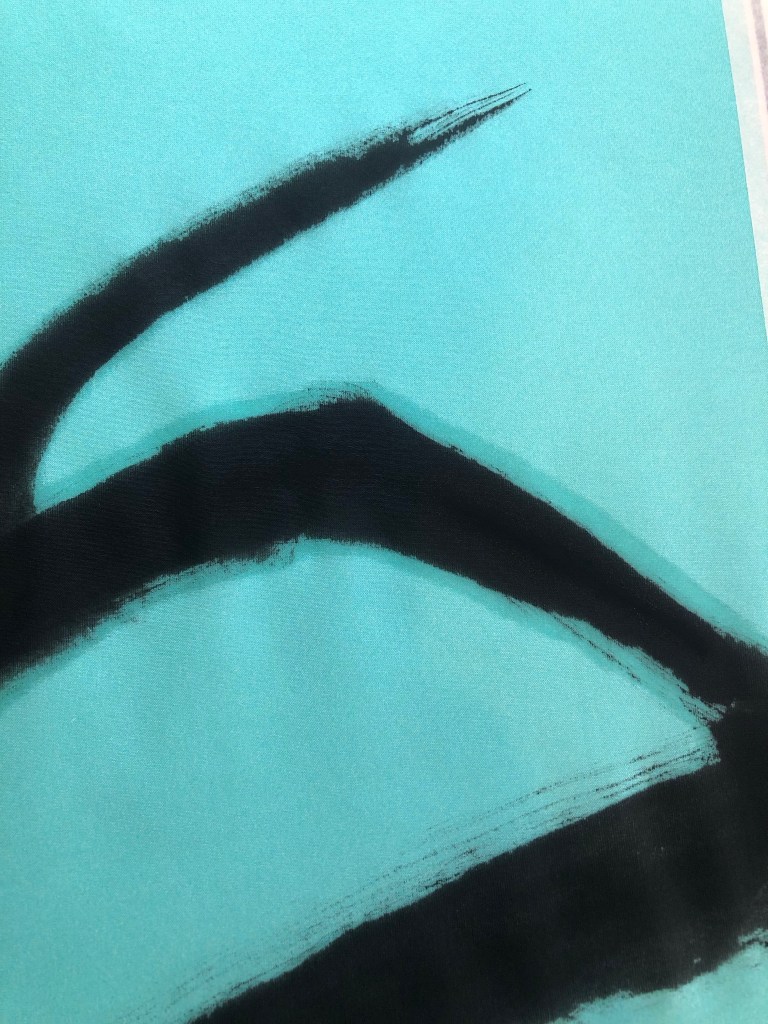
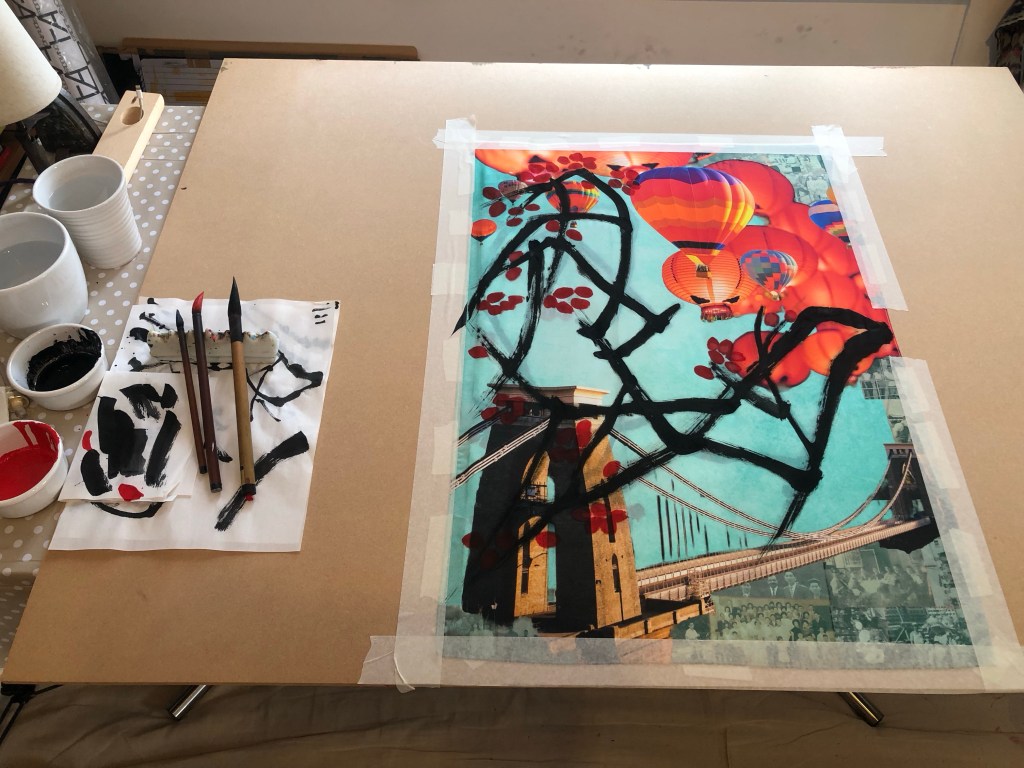
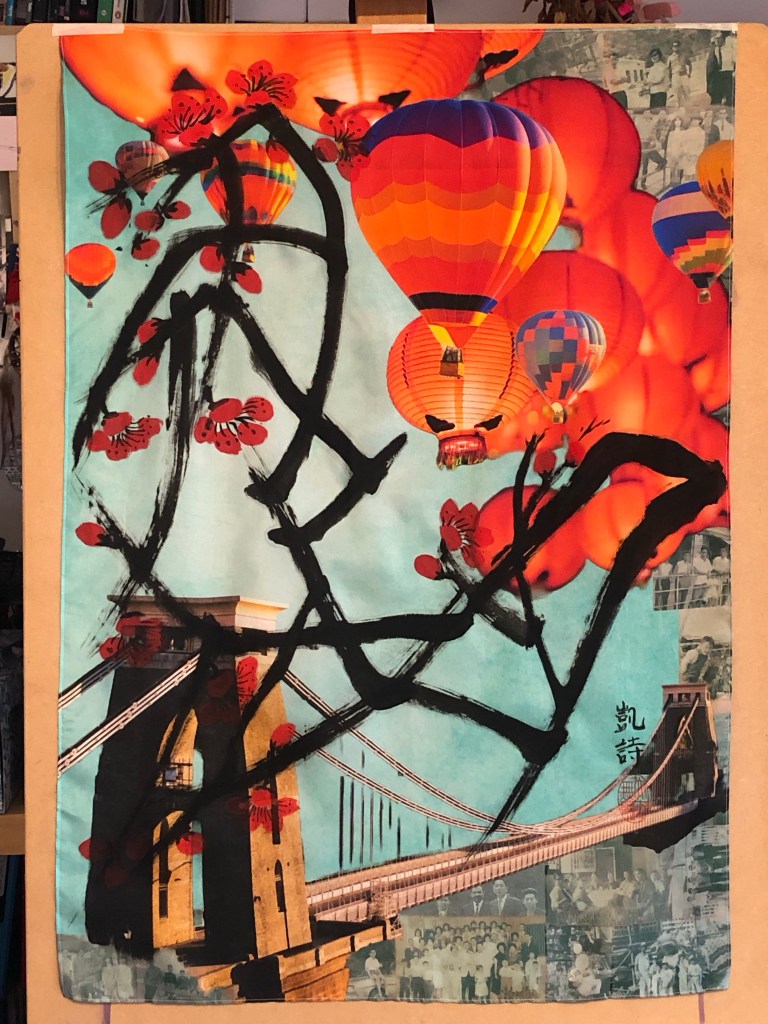
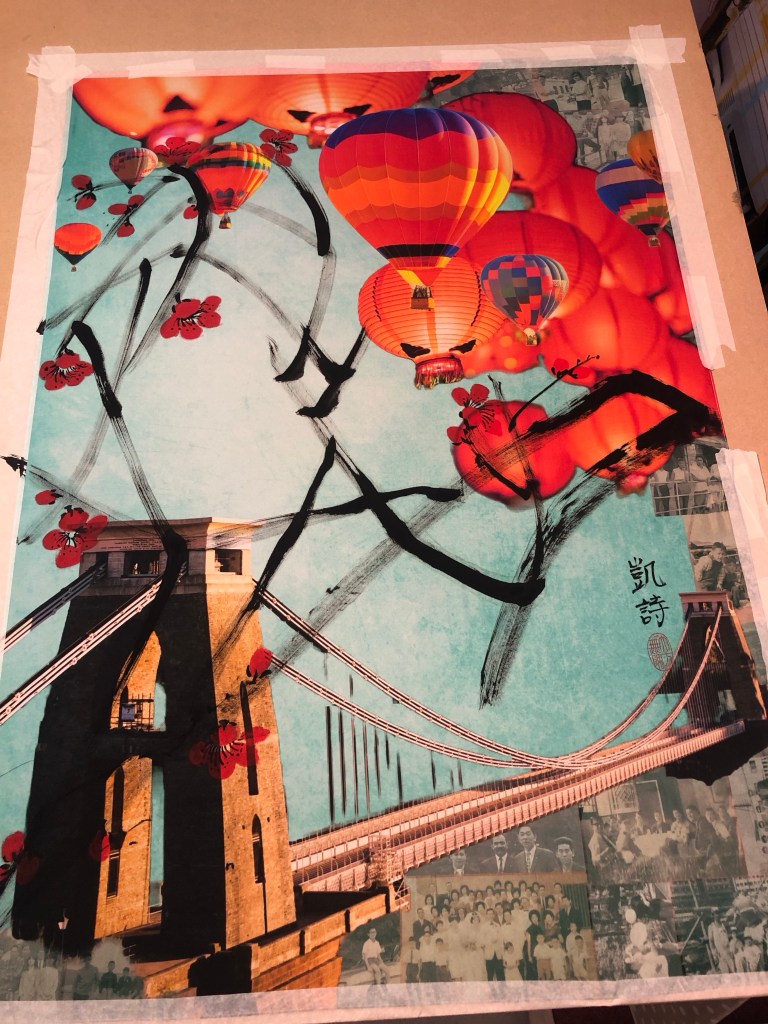
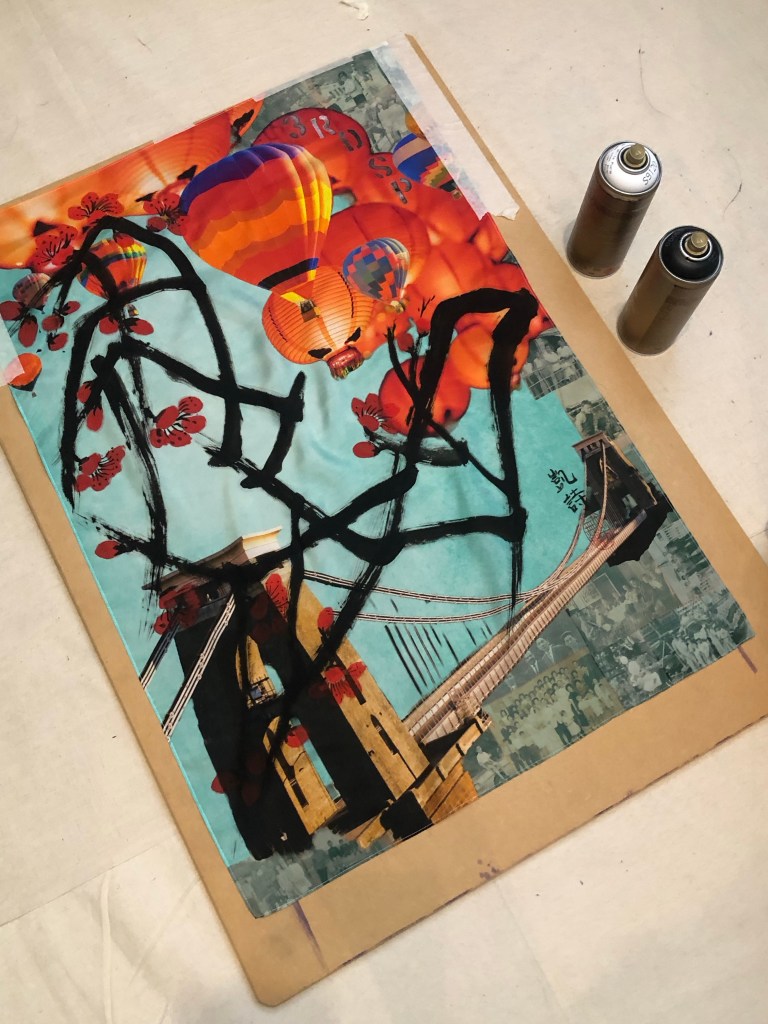
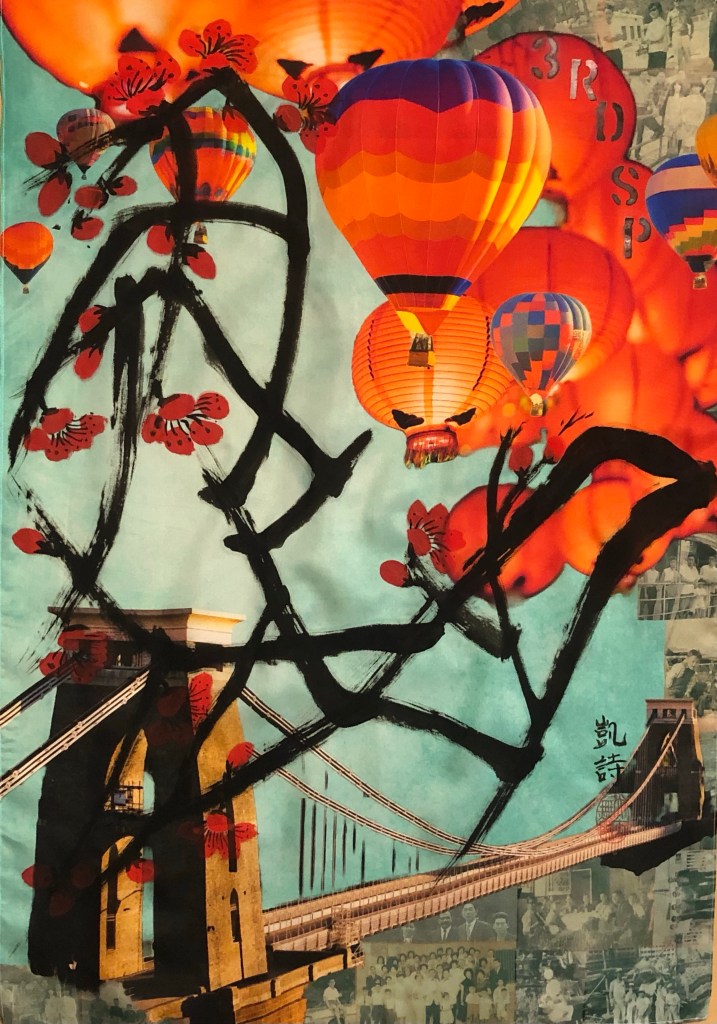
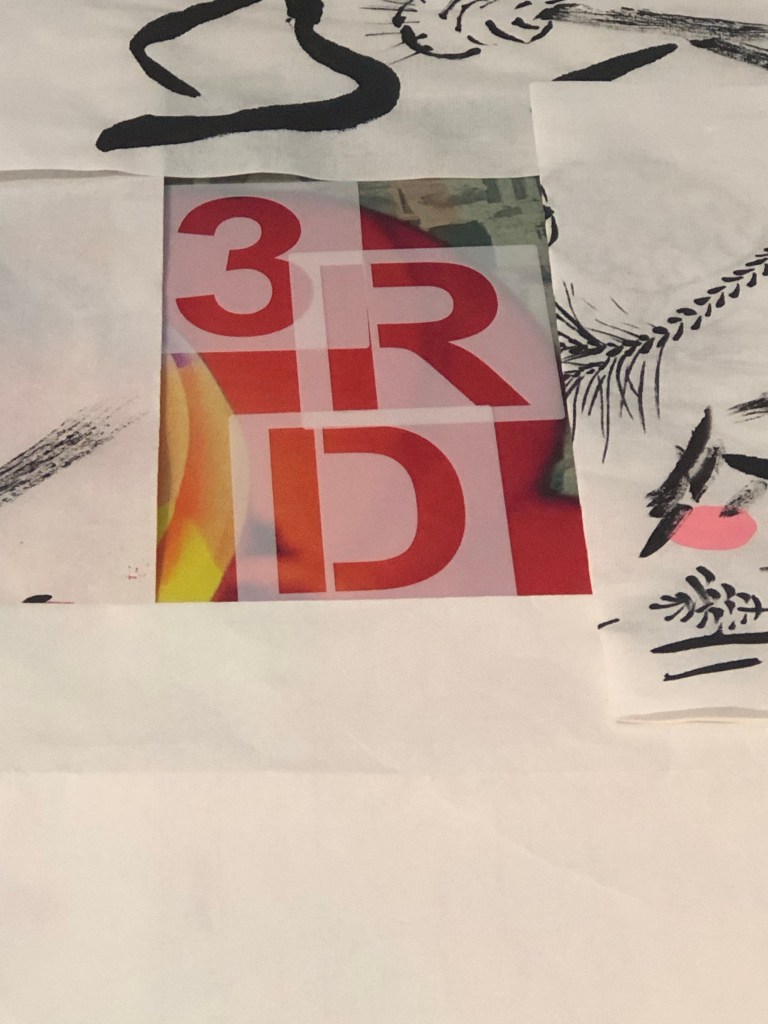
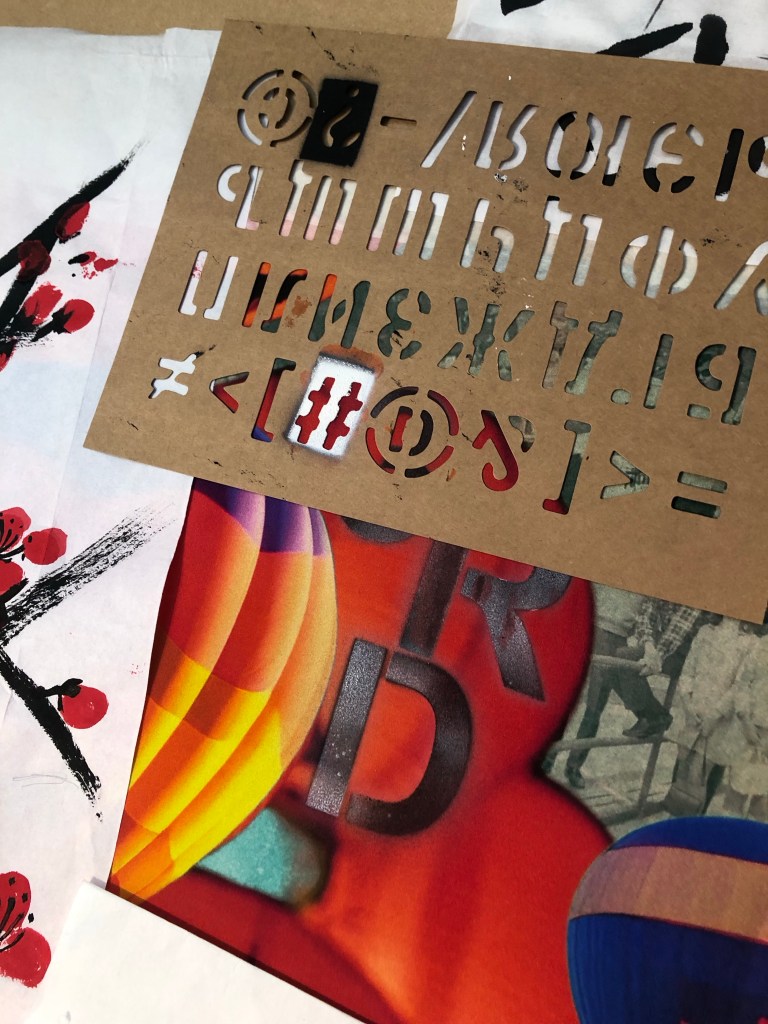
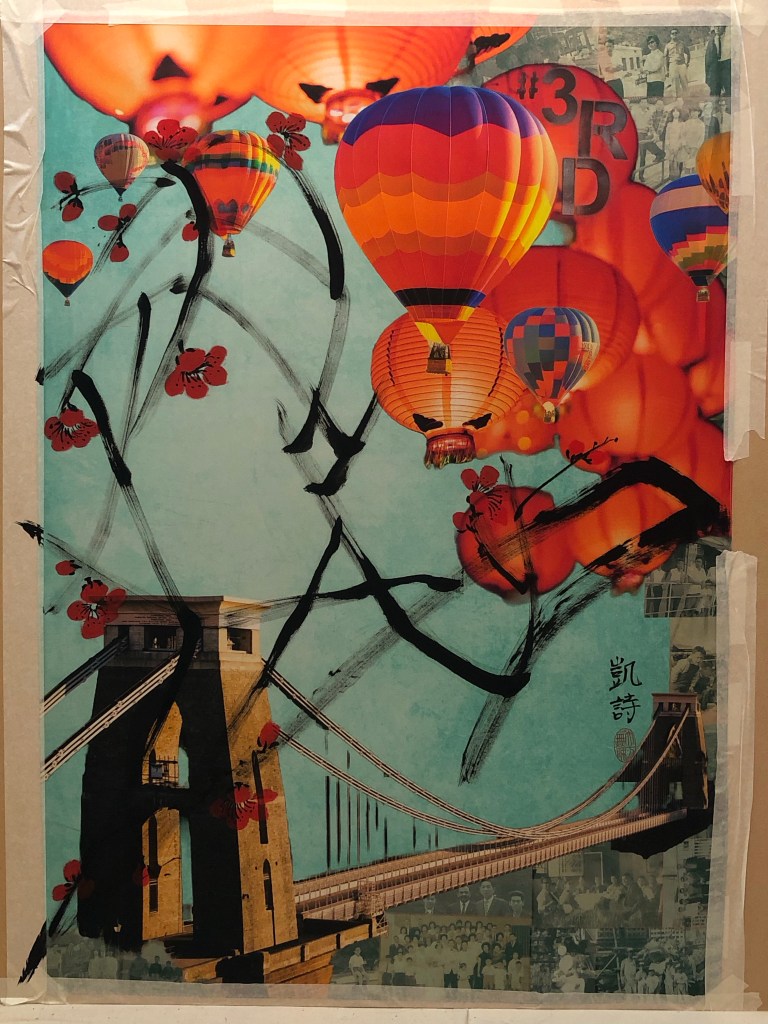
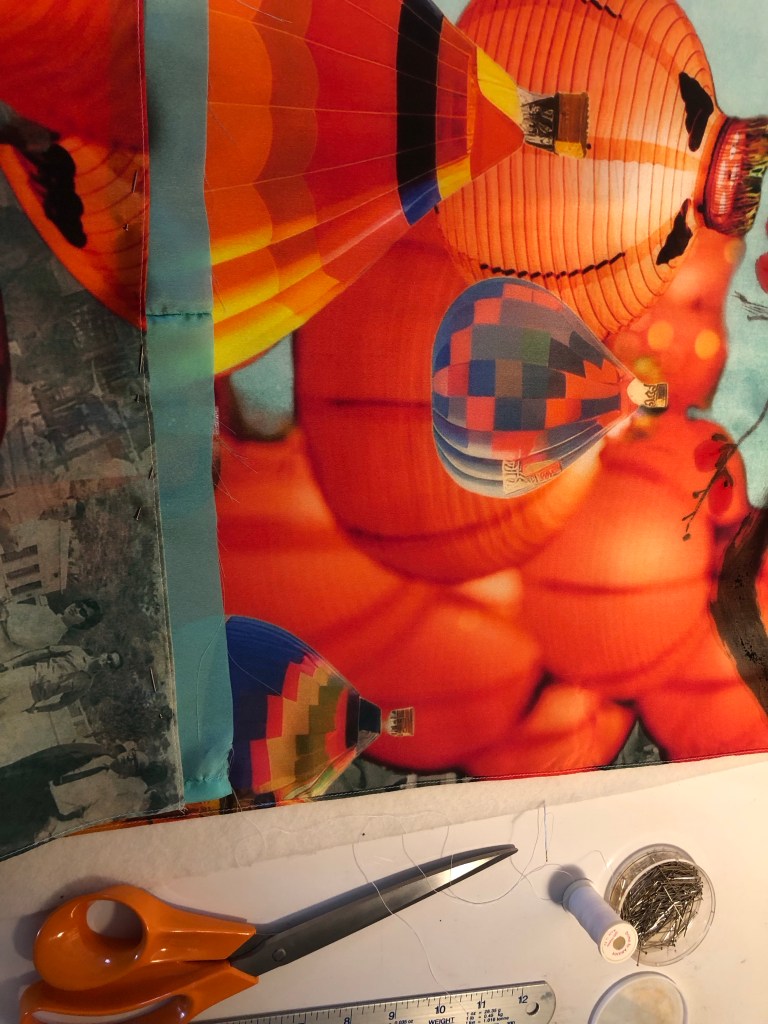
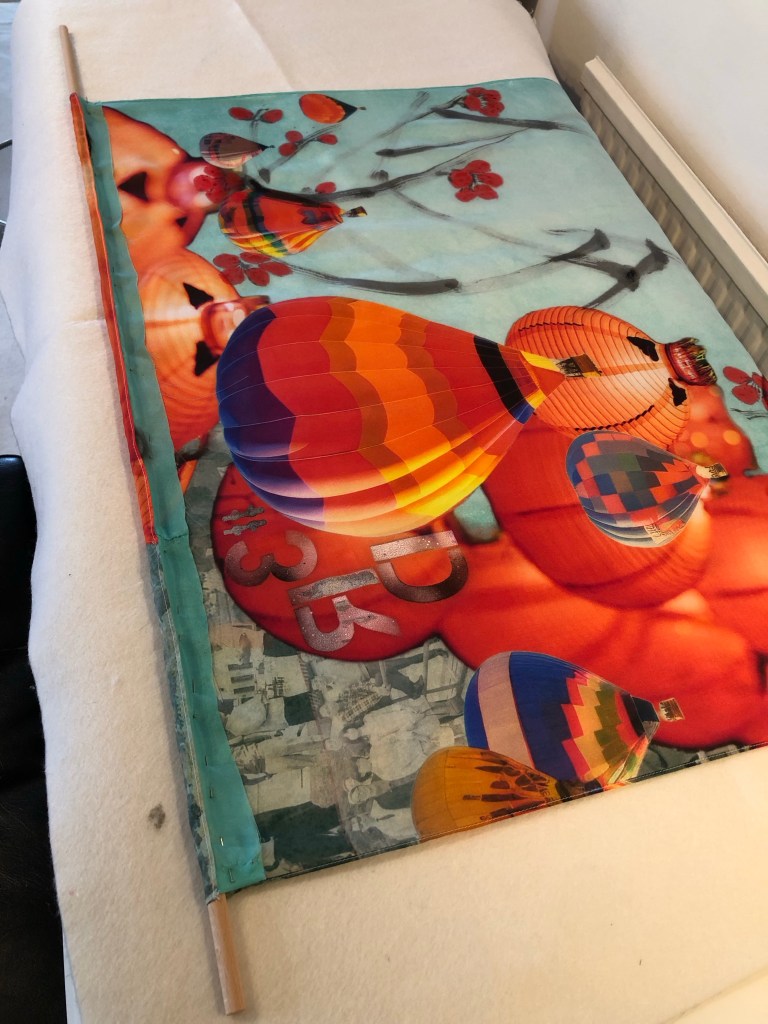
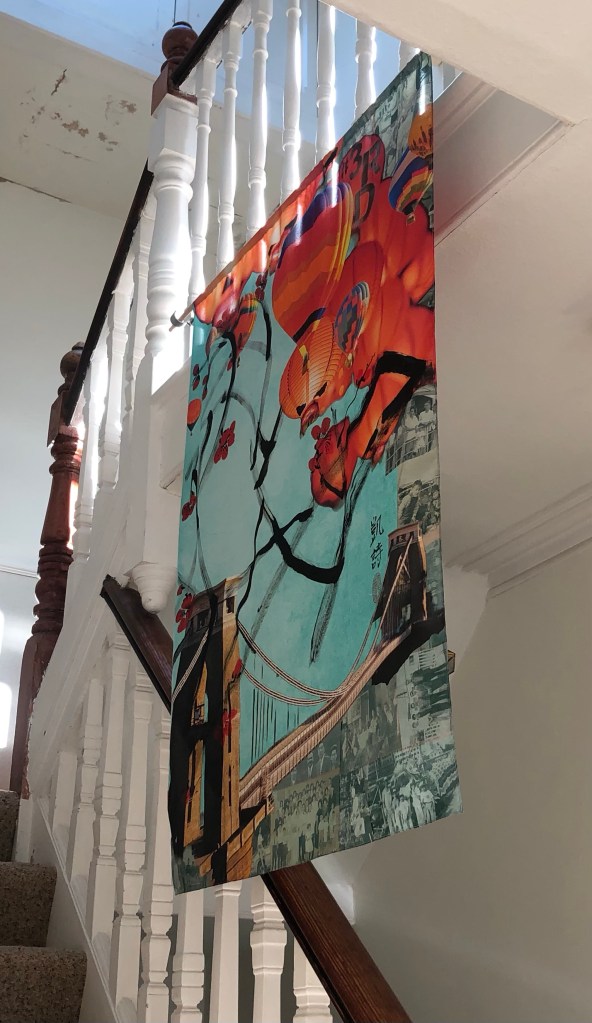
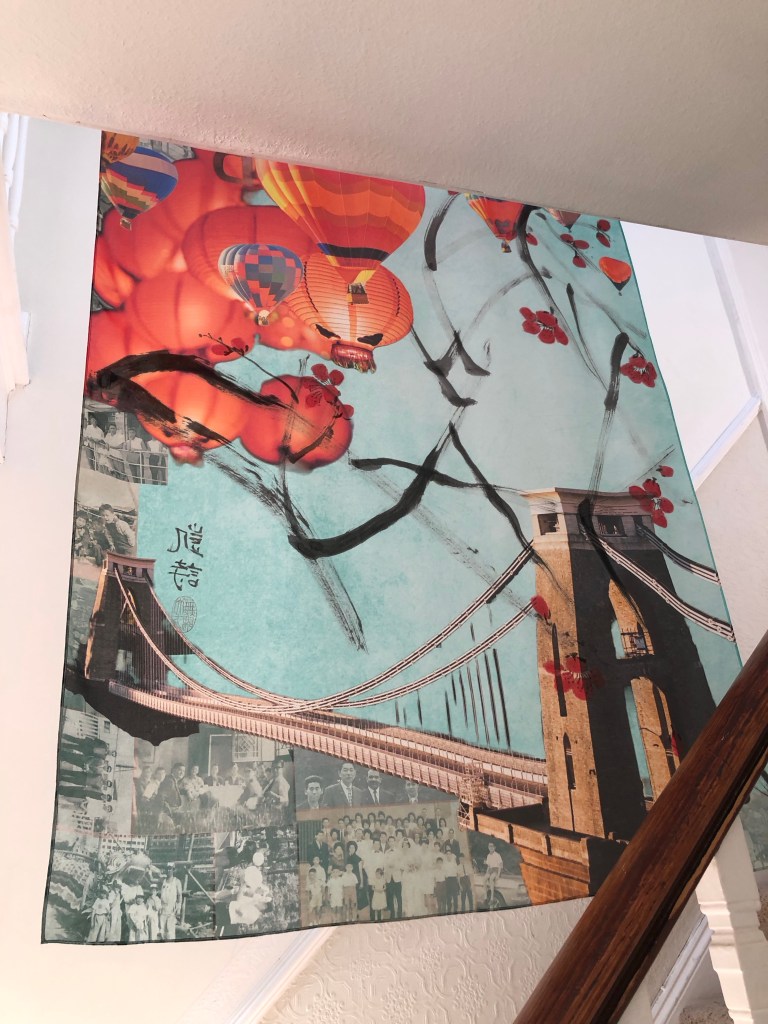
Other ideas that I have had are photographing the news page, then printing it on silk or other thin fabric, then painting or embroidering on the image.

LEARNING

The main learning was that there was no known way of making newspaper archival. I have to accept that and consider how to find ways to capture the image and reproduce in archival materials. Also, if I were to sell the original work on newspaper then what advice should accompany the sale? How should it be framed, mounted and what life time is to be expected? Perhaps letting the News painting degrade over time is one of its unique feature? As long as it can stay safely in a frame then what harm is there? It will go yellow or brown over time – perhaps that adds value like a vintage bottle of wine or whisky!

The key is to have clarity of how to manage the life of the paintings and offer archival alternatives to the originals. Not that I am planning to sell my work at the moment, but if someone were to enquire then I need to have prepared a professional response.

NEXT STEPS

Immediately:

Investigate ways to mount the prints for displaying and photographing. E.g. light box frames or ‘acrylic sandwich’ mounted on spacers.

Investigate ways to take good quality digital photographs of the mounted work.

Investigate ways to make archival gyclee prints of the photographs – what method of printing and what paper would be best? Best options for framing?

Consider what advice to give with any original art work – recommended ways to mount and likely life before degrading occurs. Think of ways to articulate the value of a degrading or degraded piece of News art. i.e. make the non-archival nature of the art a feature of the work.

Longer term:

Investigate options to print on fabric then paint on the fabric or embroider to create original art. Or print painted News images on silk as an alternative to paper – need to think why use silk or fabric though.

MA U2: Exploring aesthetics – Part 3 – Harbour

This piece of work was a continuation of my exploration of how to express the third space through aesthetics. It started with a digital collage in a similar way to the piece I did for the MA Interim Show in Part 2:

MA Y1 U1: Exploring Aesthetics – Part 2 – Painting on silk for MA Interim Show

However, after I started this piece, my thinking took me to reflecting on how I felt about my work in the third space so far. My thoughts are captured in this blog:

MA Y1 U1: The elusive Third Space – Reflections from MA interim show and feedback

Although this work did not start as the abstraction approach that I concluded on in my thinking, I have altered part of the image to be less illustrative and more suggestive as a start of this new exploration.

METHOD

A digital collage was created using Adobe Express comprising an image of present time Victoria Harbour in Hong Kong, a row of colourful Victorian houses at Bristol Harbour and a traditional Chinese junk. The images were manipulated so that the buildings forming the skyline of the two harbours were combined forming a continuous shoreline with the HK Harbour image changed to a subtle but bright two-tone effect whilst the Bristol houses remained vibrant and unchanged. Various colour effect experiments were carried out to achieve this final image:

I recently started to experiment with using old black and white family photos in my digital collages. For this piece of work, the photos formed a collage on the sails of the junk:

Whilst the previous work for the MA show was printed on silk, I feel this image would suit a woven canvas (e.g. a traditional cotton woven canvas). So my plan is to have this printed on canvas then add brush strokes in the style of Chinese calligraphy. The digital collage was exported to Adobe Freso where I used the painting function to try out different compositions. Below are two examples.

Example 1 – using an abstract image done in Chinese calligraphy style:

Example 2 – using Chinese characters that meant ‘space’ (as in third space) with a red seal stamp drawn in:

This is work-in-progress and I will order several printed canvases to try out the calligraphy experiments.

REFLECTIONS

I am happy with the progress so far. I like the way the two harbours came together as one continuous shoreline representing the different parts of my life coming together as a continuum. After my reflections on my third space work so far, my aim here is to create images that are more ambiguous so that both the viewers and I have to think deeper to see what’s there. I am not sure if I have managed to achieve it with this work. I will reserve judgment until the work is complete.

What I am also pleased about is that I am becoming less sensitive about using my family photos. I have always felt that they were too precious to be used, like mining a fragile archeological site. Although I have not used the very precious photos of my close family yet, I am feeling more able to consider the idea.

LEARNING

Since this is still work-in-progress, I’ll leave the full consideration of my learning until the end when the work is finished.

NEXT STEPS

– To order a minimum of four canvases printed with the image to experiment with adding Chinese calligraphy style brush strokes to complete the painting.

– I will go for A1 size to start with; it gives a reasonable area for expression without having to commit too much costs or materials. If I like the outcome then I might consider printing more canvases on a larger scale.

– Other experiments to consider are:

a. Covering the image with a top layer of oil and cold wax abstract painting then complete the painting by scraping off areas to reveal the image underneath.

b. Spray painting in street art style to show further Bristol heritage.

ADDITIONAL REFLECTIONS

After publishing this blog and giving more thoughts about my blog on the elusive third space, I decided not to take this piece of work further. This is because I feel this image is still rather illustrative with images of only ‘A and B’ (as explained in ‘The Elusive Third Space’ blog). So I’m going to leave this for now and focus on the Cheongsam series which may give me more exploration opportunities. I may come back to this later but I’ll leave it here for now.

MA Y1 U1: Exploring Aesthetics – Part 2 – Painting on silk for MA Interim Show

BACKGROUND

Following on from Part 1:

MA Y1 U1: Exploring Aesthetics – Part 1 – Using photos

I ordered the silk printing from Contrado who provided an excellent service. The image I used was the final outcome from Part 1 – the Clifton suspension bridge, hot air balloons, Chinese lanterns and family photos collage. This blog describes the process I went through to do the Chinese painting on the printed silk. The largest Chinese painting I have done up to now had been A1 size and I ordered 1xA1 and 1xA0 for this experiment. The A0 piece was therefore by far the largest Chinese painting that I have attempted. The plan was to use this piece of work for the MA Interim show if it worked out.

Here is the finished painting and I will use it for the MA show:

METHOD

Since I have not done a Chinese painting of A0 size, I wanted to practice on paper before doing it on the silk. As mentioned in some of my Chinese painting blogs, Chinese brush painting is very unforgiving, you only get one go at doing a stroke, hence practicing was important.

Here is the set up with scrolls of Xuan paper stuck together to form a large sheet:

Using the brushes I selected in Part 1 and the composition that I practiced on A4, here is the attempt on A0 size after completing the wild plum tree branches:

Then the plum blossoms were added:

Finished trial painting on paper:

When ordering the printed silk, I had to decide whether to print a border. So I trimmed one of the printed samples to see what a borderless image would look like. I was happy with it and the prints were ordered without border, i.e. printing the image right up to the edge. I also ordered the option of hemmed edges.

Sample image cut without border

In addition, I ordered a small piece of printed silk to test what backing should be used (a piece of felt which is typically used as a backing for Xuan paper painting or just use Xuan paper). Also to test the amount of brush loading and how the brush glided along the surface.

I was not happy with the felt backing because the moisture was not being absorbed fast enough and the silk therefore retained the moisture for too long and started to spread – as can be seen in the close up photo:

So the decision was to use Xuan paper as the backing material for painting on the silk. I started with the A1 piece as practice. Since I do not have a stretching frame for silk painting, I taped the whole piece onto a large board to stretch the fabric.

Below is the finished A1 painting. I was not happy with the painting because the brush loading was too heavy for the branches and as a result, the painting overly dominated the piece. I was disappointed in this but was pleased that I learnt this before doing the A0 piece.

I used the ‘stuck together scrolls’ of Xuan paper from the earlier practice as the backing for painting the A0 piece. It also gave me some rough positions of the composition. The edges of the silk was taped down to ensure the material was sufficiently stretched.

After doing two strokes, I could see the ink picking up the seams of the paper underneath which was not good at all. Once I started painting I was reluctant to stop because it would interrupt my ‘energy flow’, however, I had no choice but to put down my brush and lift up the tapes partially to pull out all the Xuan paper underneath. This was not ideal but had to be done.

With all the backing paper removed, the painting process could resume but with no backing paper to help absorb the ink, there was only the MDF board underneath which was a risk because I hadn’t experimented on MDF before.

It worked fine and I reduced the brush loading as well as the number of branches planned for the composition because I didn’t want to overwhelm the overall image with too dark brush strokes.

The plum blossoms were then added. I also reduced the number of blossoms and tucked some between the balloons and lanterns. I wanted to leave sufficient negative space on the left of the painting to create tension on the canvas juxtaposing the busy right hand side of the image.

After completing the Chinese brush painting, I had the choice of finishing it there, or adding some spray painting. I like adding street art style spray painting to my work because of my home city of Bristol being home to many great street artists and the city is full of beautiful street art. Hence street art is a big part of my heritage.

I was mindful that the canvas is already filled with images and I didn’t want to overdo it. Also I didn’t know how my spray paints would perform on silk. So I experimented with the A1 piece first:

I sprayed some two tone black and white stencilled letters on two lanterns saying ‘3RD SP’ for Third Space:

I was happy with the outcome so I started to lay larger stencils on the A0 piece:

‘3RD SP’ was too much, so I went with just ‘3RD’. I masked off the area and proceeded to spray one letter at a time.

It worked out fine and to take further risk, I added a ‘#’ to proceed the lettering to add a contemporary feel.

After spraying, I found that for some parts, the spray paint seeped through the thin silk and nearly glued the material to the MDF underneath. The silk was rescued in time and was safely lifted off the board.

The finally finished work:

Since I have decided to use this piece for the MA interim show, I had to work out how to hang it.

I have chosen to hang it off a piece of 1 metre x 10mm diameter wooden dowel. this means I had to sew the header of the silk to make provision for the hang. I wanted to minimise losing the images at the top especially to avoid losing my father’s face on the top right photo, I added a piece of silk material ‘tape’ at the top as follows:

The sewing was complete and the silk painting was hung off two metal brackets to simulate how it would hang at the show:

One of the reasons for choosing a thin 38gsm silk material was that I wanted the image to be visible from both sides if it was hung in free air. This is how it looks from behind and I am happy that the image is still visible:

REFLECTIONS

This whole piece of work has turned out to be a much larger undertaking than I imagined because of:

– Using family photos in my digital collage: aside from the emotions involved (which I have not fully resolved yet), there was much work involved in ensuring the resolution was good enough for printing on A0. The print company Contrado was excellent in checking through my design before I placed the order.

– Using new materials: I learnt a lot from choosing the right kind of silk material but it was also very risky because I had not worked with silk before and the thinness of the fabric made it very fragile to work with. The whole process was new to me and I had to make it up as I went along. Due to the costs and lead time involved in purchasing the printed silk, I had to take extra care in the experimental process to minimise wastage of materials as well as time.

– Going large: I wanted to challenge myself to create something new for the MA interim show, hence I went for A0. I found it very challenging because I am still very new to Chinese brush painting and that lack of experience made the process much more stressful than if I had gone for medium that I’m familiar with such as oil paint or acrylic.

What I was happy with:

– I learnt a lot in making this piece of work, documented here and in Part 1. I learnt about new methods, materials and processes. All the practices and trials were essential.

– Starting to use old photos in my digital collage. I still have many photos in my archive that I could use when I feel ready and able to. I have to manage the emotions and fragility involved in using such precious materials. But I have made a start.

– I was happy with the final outcome and was relieved that I have something for the MA interim show.

What I was not happy with:

– I should have anticipated some of the mistakes along the way, it was all useful learning despite being stressful at the time.

– Since the A1 silk experiment didn’t go well with the branches being too dark (overloading of the brush), I was overly cautious with the subsequent A0 piece. Also, my paint brush was not quite large enough. It was one of my mother’s brushes. There was a larger one but it would have been far too large, also, its bristles were starting to fall out and I didn’t want to damage it further since I want to preserve my mother’s brushes as much as possible. So I made do with the smaller sized brush. I would have wanted thicker branches for the A0 piece. Additionally, I could have loaded the brush a little more but I was worried that it would turn out like the A1 piece. Hence I was being overly cautious. It all comes down to my inexperience with Chinese brush painting. I hope this will improve over time with more practice.

Further reflections:

I have spent much of my MA first term developing methods to work with oil and cold wax, however, when it came to the MA show, I went back to an earlier method of transcultural layering where digital collages were printed onto a thin fabric then a Chinese brush painting was layered on top. I thought I would be more familiar with this latter approach but the change of fabric to thin silk and going large made it more challenging than I expected. I am pleased I went with this because it has renewed my enthusiasm for this transcultural layering method and now I have several other ideas in mind to try. I want to continue to pursue both ways of transcultural layering for my practice, namely:

1. Western medium as the lead with oil or oil and cold wax as the top layer, scraped back to reveal images pre-printed on the canvas. The canvas here would be robust such as woven linen/cotton or board.

2. Chinese medium as the lead with digital collages printed on silk and Chinese brush painting or calligraphy layered on top.

Which one to use will depend on the context and the kind of painting I want to make. My current plan is to continue to work on both methods.

LEARNING

– I learnt a lot about working with silk and will continue to use this material. I need to look into buying or making a silk stretching / painting frame that can accommodate large pieces of silk, A0 or larger.

– I gained confidence with my Chinese brush painting and there are no short cuts there – practice and planning are key.

– From the aesthetics exploration perspective, I learnt a lot from the mistakes in the A1 painting. It’s easy to overwhelm an image and it showed once again for me that negative space is so important. Often less is more and leaving space on the canvas creates tension that engages the viewer. I was hesitant in adding the spray paint but I really wanted to do it to bring in that aspect of my Bristol heritage. I am pleased that I did it and managed to reign it in.

NEXT STEPS

– Look into a better set up for painting on silk such as a large stretcher frame.

– Source a few larger good quality Chinese paint brushes for larger scale work.

– Do a new piece of transcultural layering work with a new digital collage of family photos for use with another silk painting or oil and cold wax.

MA Y1 U1: Research – Investigation of techniques for digital printing on canvas

Background

In my style development work, I developed a transcultural layering process where I combined multiple layers of images (both found and painted) that are relevant to my lived experiences to form an overall painting. Thus far, my process has been:

1. Creating digital collages of found images (manipulated and processed using Adobe Express).

2. Inkjet printing the digital collage onto paper (A1 size used so far).

3. Using dispersion liquid to transfer from the printed A1 poster onto a fabric canvas (I have experimented with satin and woven cotton canvas).

4. Painting on top of the imprinted fabric canvas.

All the layered images, printed or painted, are related to my lived experience as a transcultural person. Hence I called this part of my practice Transcultural Layering.

The process described here has been developed in my home studio where the facilities are limited. Hence dispersion liquid is used because it is a process that I can manage myself. The disadvantage of using dispersion liquid is that it changes the material canvas, creating a layer like dried PVA glue. This is useable with the more robust paint media such as acrylic or oil. However, for more delicate media such as Chinese ink brush painting on satin, the lack of absorbency of the glue-like canvas means the brush strokes do not work as intended. To overcome this, I had to do the Chinese brush painting first then transfer the image onto the reverse side of the satin canvas. This makes the process unnecessarily complicated and I was unable to fulfil my desire to paint the top layer in response to the printed base image.

Project description

I want to investigate what facilities are available at CSM to solve my challenge of digital printing on canvas. Once I have established what’s available, I will visit campus to do some experiments and assess the outcomes to build a catalogue of processes, techniques and materials that I can choose from for future work.

Part 1 – Investigate digital printing facilities at CSM

Experiencing – What I did

To solve my challenge to print on canvas, I want to make use of the facilities and expertise available at CSM to help me explore better ways to do the digital image transfer onto canvas. Also to explore other canvas materials. To this end, I emailed the digital printing lab to ask what facilities are available that are accessible for me and I was absolutely delighted to receive the following info.

“We have a UV printer that can print onto pretty much anything including fabric, max printable area is 77x33cm. You could tile an image onto a larger piece of fabric if you are not worried about the alignment of the tiles being perfect, ie an overlap or gap.

We also have a large format solvent printer that can print onto canvas up to about 450gsm. We stock a polycotton canvas (printable widths of 1.3m and .85m) and people have printed on their own coated and uncoated canvas. With uncoated canvas the ink tends to bleed into the fabric giving a blurred image.
Both of the above use solvent inks that have a sheen to them in dark colours they are not a matt finish.

We also have an archival inkjet canvas printable width 1.1m, matt finish.
All of them should be ok with acrylic or oil paint, ink might only work on the inkjet.”

Further info pricing, file formats etc can be accessed from the moodle link below

Course: CSM Technical Moodle, Section: Digital Print (arts.ac.uk)

Digital Print Location: B301

Opening hours

  • Digital Print
    Mon to Thurs: 10:30 – 12:30 | 14:00 – 17:00 Fri: 10:30 – 13:00
  • Riso
    Tue & Thu: 10:30 – 12:30 only

Reflecting – How I feel

I am so thrilled! The reply was beyond my expectation. Not only is my challenge solved, I have many options to choose from! The experience also reassured me of how easy it is to ask for help at CSM – this is important for me because I am new to the university and am still trying to find my way around. I have since researched into other facilities at CSM and I want to make the most of my access to them for my practice.

Thinking – What I learned

Be optimistic, the outcome is often better than expected and never hesitate to ask.

Also, I feel very privileged to have access to all the facilities and I am keen to not waste the opportunities like I would have done in my younger student days!

Acting – What to do next

In order to build a catalogue of canvas printing options, I will do one or more prints from each of the different printers and then assess the outcomes to determine their suitability for the kind of work that I make.

As for making use of the other facilities, I don’t have a plan yet but will open my mind when planning my work to include the facilities available in my thinking.

Part 2 – Printing experiments at CSM

Plan – Print trials to do

Obtain prices then arrange for the following prints:

1. UV Printer (max size 77x33cm)

– 1 x A3 cotton canvas

– 1 x A3 silk canvas

2. Large format solvent printer

– 1 x A3 cotton canvas

– 1 x A3 silk canvas

3. Inkjet printer

– 1 x A3 cotton canvas

– 1 x A3 silk canvas

All printers and canvases to print the same image in order to compare the outcomes.

I have decided to research and compile a new image of digital collage. I will use Adobe Express for this work.